We have been learning about tiling and tessellations in my Geometry for Design class--right up my alley with my quilting background. But specifically, I have been fascinated with M.C. Escher's tessellations. I made about 10 different prototypes out of regular colored paper, and then selected one that I wanted to turn into a painting for my final project.
This shape started with a 90-degree triangle. I traced the shape out repeatedly onto a piece of 15 x 20 illustration board, and painted in the shapes with turquoise, teal, orange and red.
I then developed the design further by drawing the lizard figure and leaves with black charcoal. Put a final coating of spray clear acrylic, and voila--my first tessellation!!!
Tuesday, April 28, 2015
Monday, April 27, 2015
Final Project Fail and Success
I have been working on my final project for Art Practices II--the assignment is to explore Time Based Media. So, this could include a performance piece, something that is an installation like an ice sculpture that melts away, or an event that the artists creates (and may or may not participate in). So, less about the art piece, and more about what happens over the time of the art process--kind of hard for me to explain.
Anyhow, we had watched a video about the recreation of a giant ice block wall installation (can't remember the artist's name now...), and it was a pretty neat project. An 8 foot high, 4-sided wall, that took 30 people to create. And then it melted all away....
I liked the idea of the melting ice, but wanted to have something tangible remain at the end. Have the melting ice make the art (kind of reminds me of snow or ice dyeing). I put liquid watercolor paints into ice cube trays and froze them. Then set them out on watercolor paper and filmed them melting.
The first two experiments were Epic Fails! On this one, the colors were too concentrated, and just made mostly black. I used salt to make an interesting design element, but that part didn't really work either.
On the second sample, I diluted the colors, but they didn't really flow or absorb into the watercolor paper like I was hoping.
The third sample (not shown) worked out better, because I switched to using fabric instead of paper. The paper just wasn't absorbing and moving the colors the way I wanted. The third sample was OK, but I tweaked it a bit more and got this one--Success! I filmed for about 2 hours, and will speed up the footage and set to music.
Saturday, April 25, 2015
Block Party! Geometry Style.
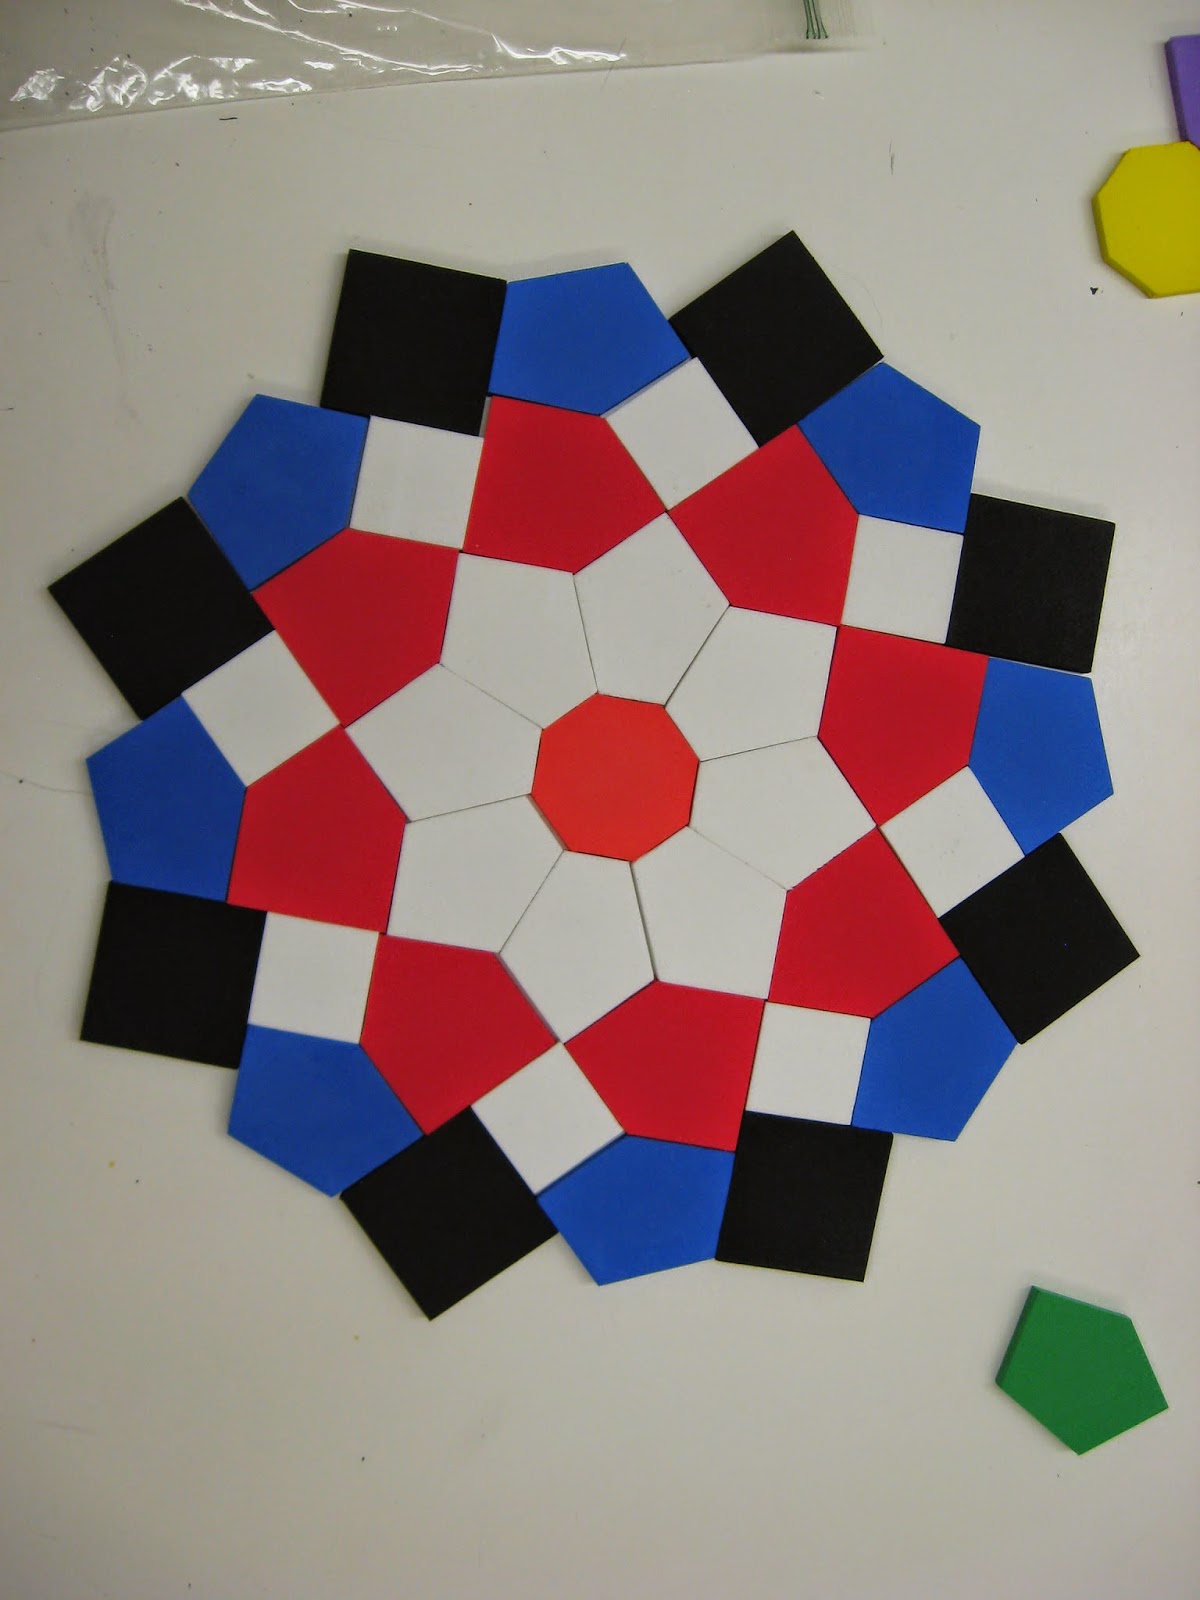
In my Geometry for Design class, we had a "Block Party" a couple of weeks ago. Basically, my professor, Peter Steinbach, supplied several different kinds of foam, plastic, and wood blocks, based on different Tiling Systems--from different cultures, using different angles--, and let the class have at it! This worked out perfectly, because it was the day that two of my children came to school with me because they were on Spring Break.
We were able to arrange the blocks into whatever designs we wanted. It was a lot of fun to be able to work hands on, and see how the shapes fit together. This also blended in perfectly with my quilting background, and there are several designs that I would love to turn into quilts one day.
It was so funny, part way through the class my 4-year old asked, "When are we going to go to your REAL class?". I guess he thought this was too much fun to actually be a college class. My 12-year old daughter said that she wanted to go to college now too! Yes, kids, college can actually be fun!
AccessorTrees
My take on Accessories for Trees:
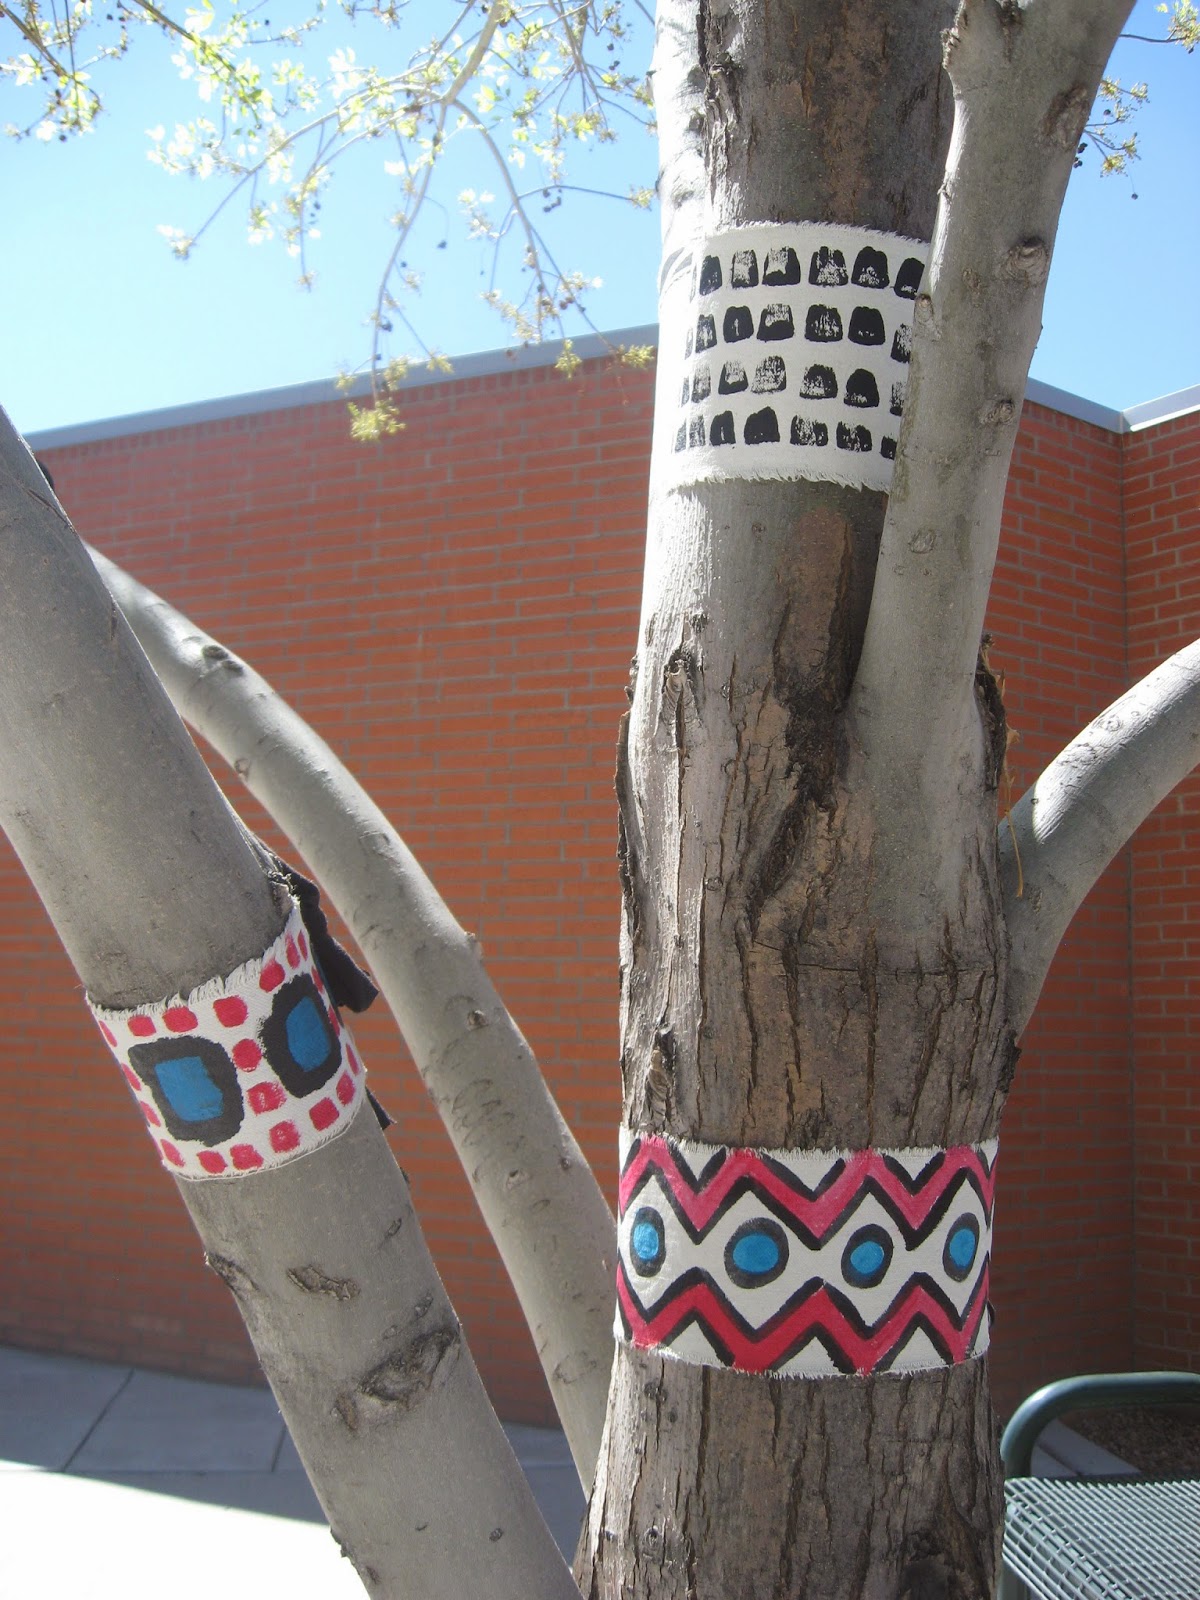
One of our assignments for Art Practices II was to create an installation piece. I walk past a series of 5 trees on my way to class, that seemed to be screaming to be decorated in some fashion. But, the trees are natural, earthy, and didn't want to be garish. So, I had to come up with a way to add some subtle accessories that the trees would be comfortable wearing.
I decided to paint imperfectly geometric designs onto raw, torn edged canvas. I used a limited palate of paints. Black (because everyone looks good in black), red to complement the trees' green hair, and turquoise to bring out the color in their eyes. I measured each trunk and branch to size the belts and bracelets properly, and then tied them on with strips from black recycled shirts.
I love the way they came out, and it is fun to sit and watch other passersby reactions to the art. I hope the trees enjoyed wearing them!
Friday, April 24, 2015
My First Ukrainian Egg
I took a workshop tonight at CNM Community College with instructor Lynn Johnson to learn how to make Ukrainian Eggs. Too much fun! This workshop was offered through the CNM Art Club, which I just discovered, and is a great resource. They have more workshops scheduled this summer, and you can bet I will be there!
To make the Ukrainian Eggs, you use beeswax as a resist to draw a design on the egg, and then dip into a dye to color the unwaxed areas. Much like you would do when drawing with a white crayon on an Easter Egg. Then you add more wax over the areas that you want to keep the first color, and dip it again. Repeat the process until the egg is complete, and then carefully melt the wax off. Pretty simple process, but it was difficult for me to get my lines straight! That will take some practice!
Here is the egg after doing yellow and brick dye dips:
And here again after I dipped into Turquoise, which became a very rich brown since it was dyed over the brick color. These three pictures are different angles of the finished egg. Definitely something I would like to try again. And the beeswax smells so good!
Monday, April 20, 2015
When you give a 4 year old your camera.....
My kids had to go to school with me a couple weeks ago when they were on Spring Break and I wasn't. This worked out pretty well, because we had a "Block Party" in my Geometry for Design class, so we literally got to play around with blocks all day (images of that to follow in a different post), I had brought my digital camera to document some of our block designs, and of course, Fletcher grew bored in my class pretty quickly and wanted to snap some pictures. I love this "selfie"--perfectly illustrates the Mad Man inside the cutie 4 year old!
I was going through the pictures when I uploaded them to my computer, and began deleting the super blurry ones, but these two caught my eye. He snapped these outside after class:
Isn't it funny how kids are so captivated by their own shadows? And this one really captures a beautiful silhouette.
I'm not even sure what this is....I think it is part of a seating bench outside the classrooms. But I love the grid and the grid shadow underneath. From this perspective, it almost looks like a grate going up the side of a building, but I am pretty sure it was a bench.
I think I need to give Fletcher the camera more often and see the world through his eyes!
Subscribe to:
Comments (Atom)


