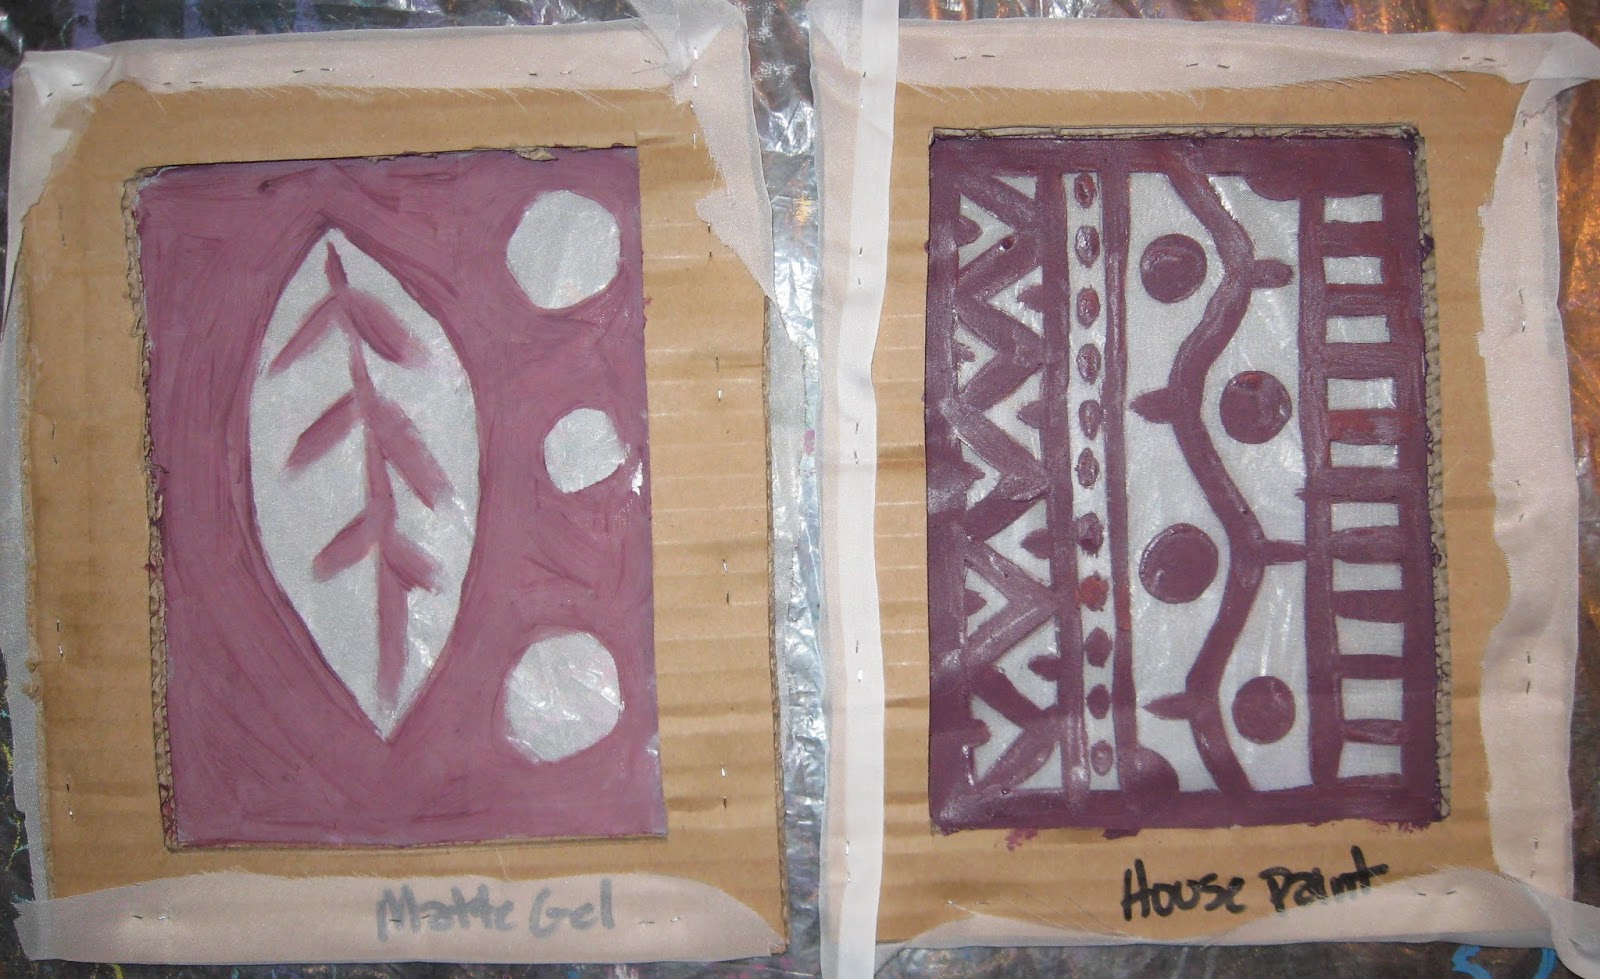
Materials you will need:
Corrogated cardboard or thin cardboard from a cereal box, etc.
Silk screen fabric, polyester curtain sheers, organza, or non-fusible interfacing
Stapler
Duct tape
Matte Gel Medium or Latex house paint
Acrylic paint, thickened dye, or silk screening ink
Paper or fabric
Plastic to cover work area
Paint brush
Cut out a frame from your cardboard. I usually leave a 1-2 inch margin of cardboard around the edge for stability. Cut your silk screen fabric (or other material listed above) slightly larger than the cardboard frame. Flatten the fabric taut, and staple around the edges of the cardboard frame every 1-2 inches.
 Paint your image--remember that what you paint in this step is what will be masked out of the final silk screened print. The areas of silkscreen that are left unpainted are the images that will print. Use a thick coat of Matte Gel Medium (I tinted mine with acrylic paint so that I could see what I was doing) or use latex house paint. More than one coat might be necessary. Leave to dry thoroughly overnight on a sheet of plastic wrap or plastic bag.
 Apply duct tape all around your cardboard frame--on front and back. This will help to extend the life of your frame and keep the cardboard from getting wet during the printing and cleaning process. I used Matte Gel Medium on this silk screen.
Print your image! You can use acrylic paint (though this dries fairly stiff on fabric). Silk screen ink is a great choice for fabric if you want an opaque image. Thickened dye is a great choice if you want to maintain transparency of color. This one was done with acrylic paint on fabric.

I used Tulip silk screen ink on fabric for this sample.
Be sure to wash out your screen immediately after your printing session. If acrylic paint or silk screen ink dries on the screen, it will ruin your screen.

